
SDS 8120/8140 Portable Data Loggers
Temperature And Uniformity Surveys
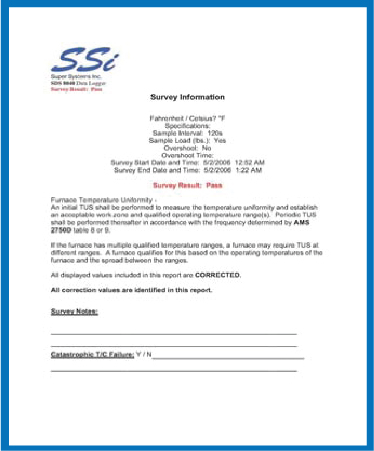
SDS 8120/SDS 8140 provides the hardware and software needed to meet industry standards for temperature uniformity surveys by logging and generating reports that address the AMS 2750 F and CQI-9 specifications
The easy to use Survey Template and Report Manager provides users with all the necessary tools to generate uniformity reports. The Report Manager includes a report writer that enables the user to set up reports to meet their specific requirements. The Template Manager allows survey-specific data to be created, updated, and used during the reporting process. All reports can be printed, saved electronically, and e-mailed using the software utilities. The SDS software tools, along with the data logger, combine to create a powerful solution for data logging and reporting temperature uniformity surveys.

| Standard report format meeting AMS 2750 E temperature uniformity survey reporting requirements |
| Real-time calculated survey performance parameters |
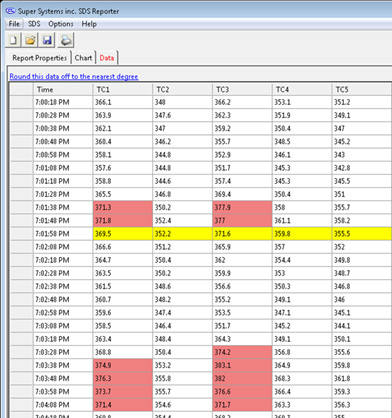
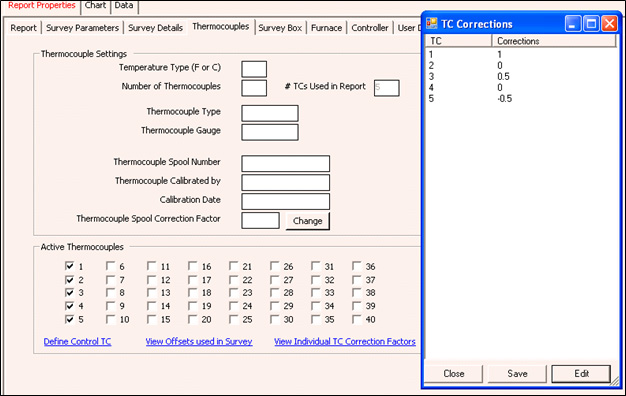
| Display corrected values incorporating TC and instrument correction factors |
| Survey data viewer |
| Configuration and calibration screens |
| Password protected screens |
| Real-time data view |
| User selectable control TC input channels |
| Tolerance deviation alarm and history |
| Automatic software updates available over the Internet at no charge |
| User defined reports to meet company specific and industry standards |
| 800 x 480 VGA Color Touch Screen |
| Built for industrial environments |
| Color touch screen |
| Designed specifically for temperature uniformity surveys |
| Meets AMS 2750 F recording and reporting requirements |
| AC (90 - 240 V) and DC Power |
| Approximately 12 hours of battery life |
| Dimensions: 16"D X 20"L X 8"H (406.4 mm D X 508 mm L X 203.2 mm H) |
| Password protected menu options |
| User defined logging intervals |
| Easy calibration |
| Web Browser enabled for real-time view |
| Ethernet and USB connection to PC |
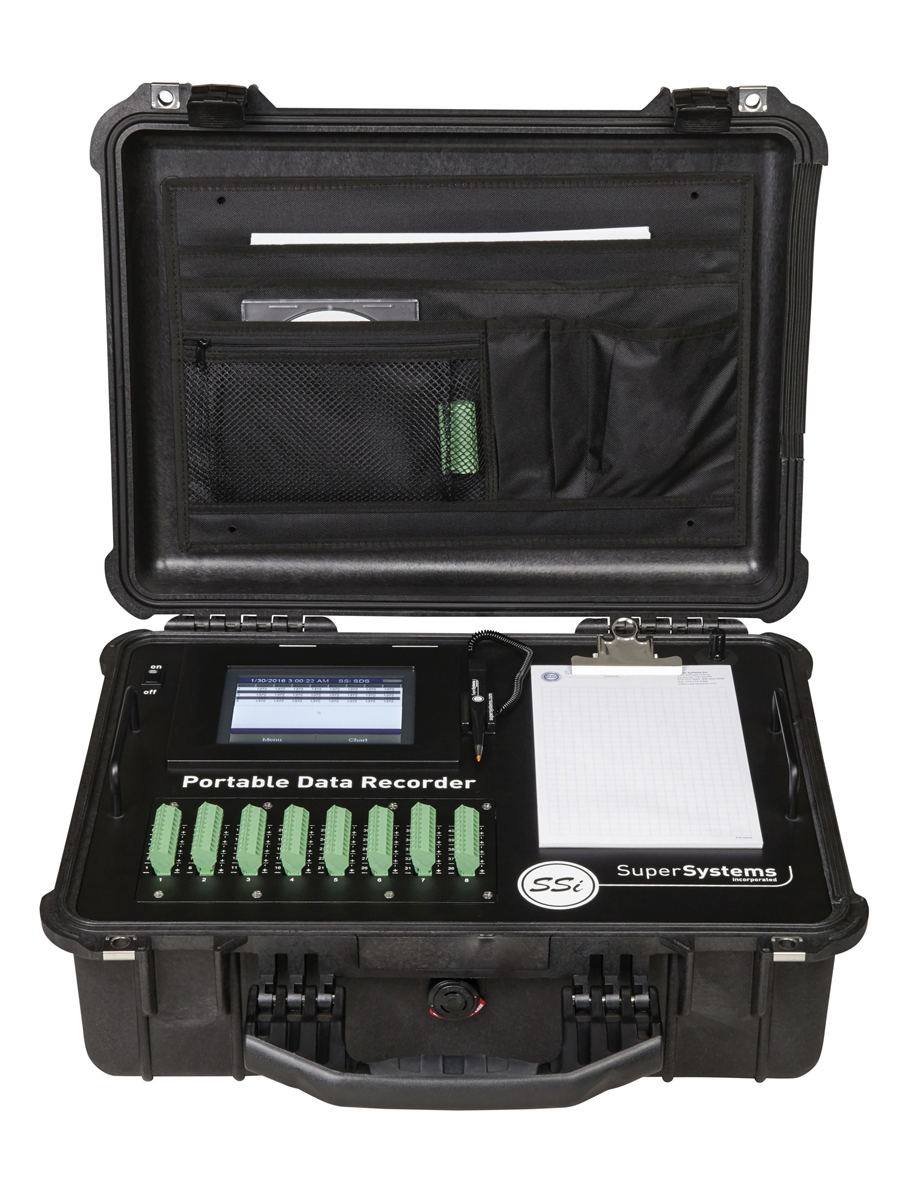
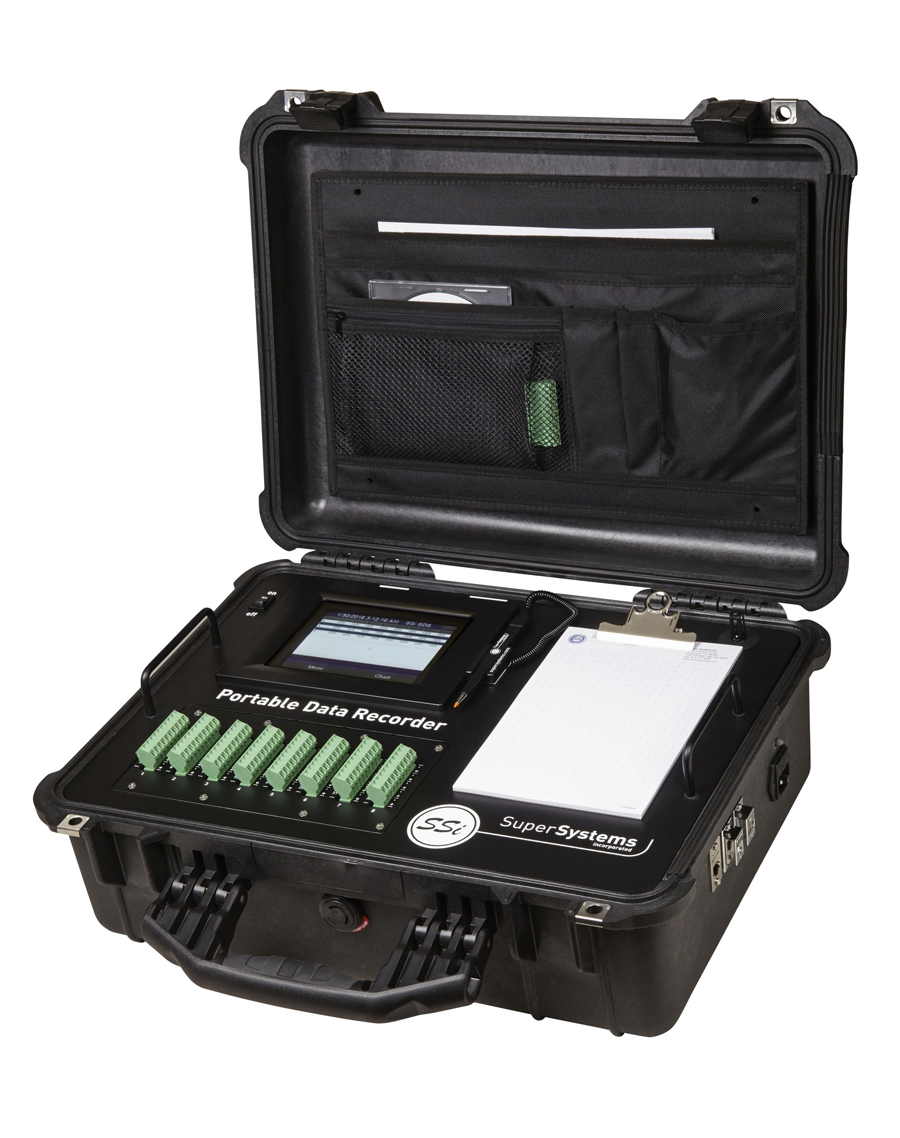
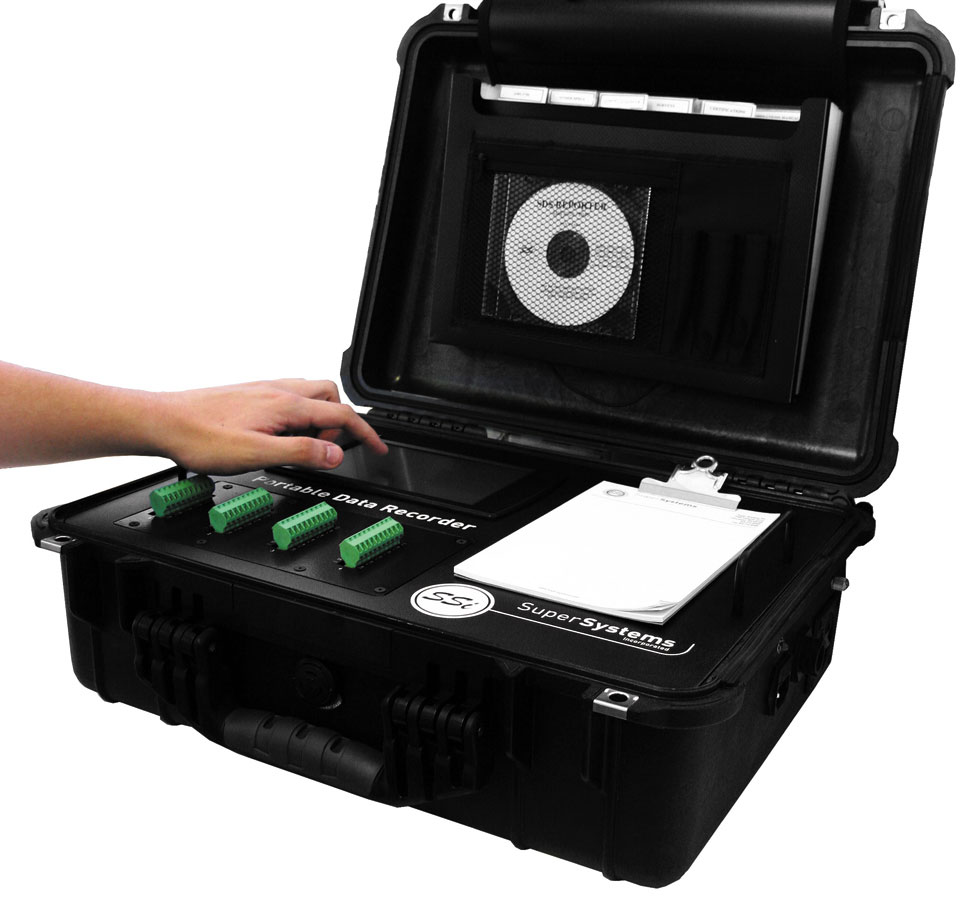
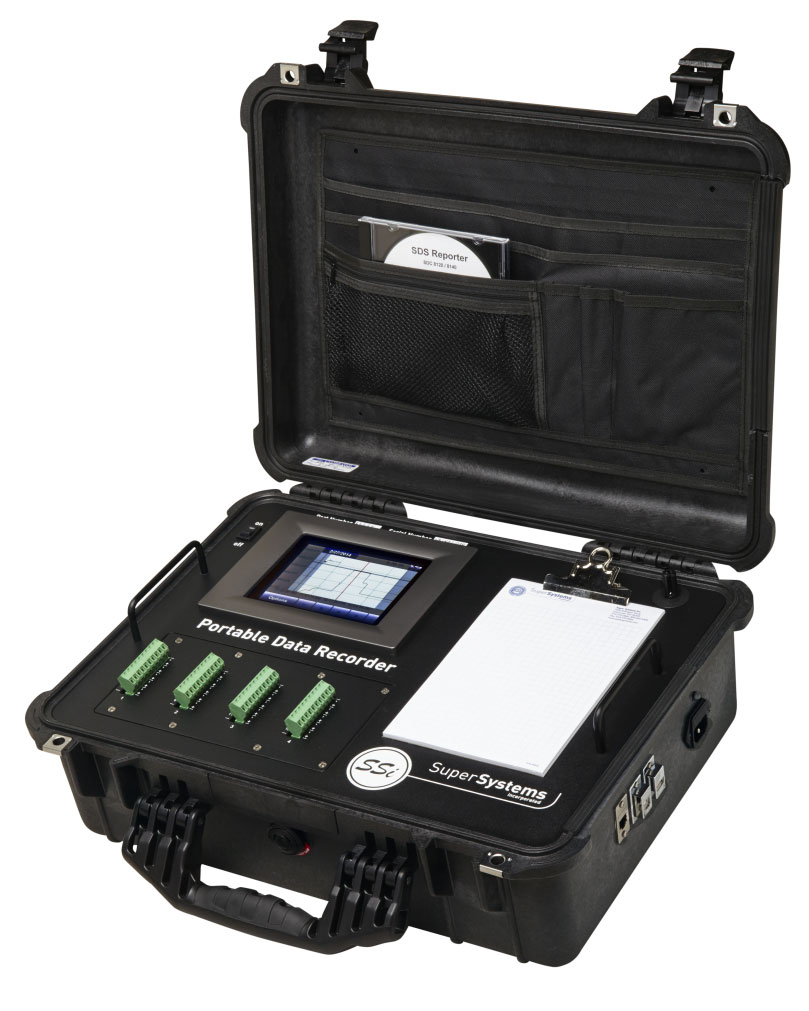
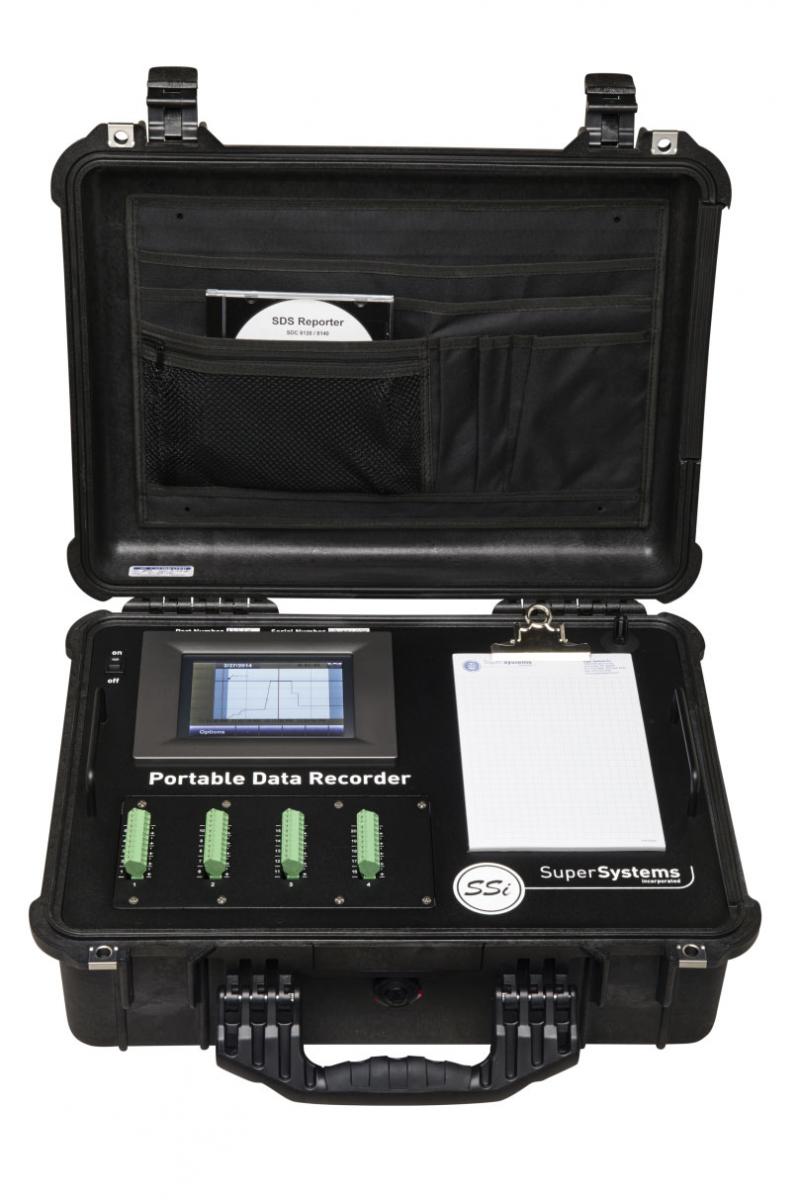
The portable and rugged data logger is easy to use and addresses the many industrial applications where logging, trending, and reporting are required.
The data logger is available in either the 20 or 40 channel versions with user-defined inputs for each channel.
The data logger includes software for managing surveys and generating custom reports based on survey results.


Go to the Windows 10 Start menu (bottom left corner).
Type “Services” in the Search Bar and click the Services icon.
Scroll down and double click on”Windows Mobile-2003-based devices connectivity.”
Select the “Logon” tab on the top of the screen.
Select “Local System account” and click “OK.”
Go back to the Services list, and double click on “Windows Mobile-based devices connectivity.”
Select the “Logon” tab on the top of the screen.
Select “Local System account” and click “OK.”
For 8020 and 8040 units, go to Screen 20 to set or change the date and time.
For 8120 and 8140 units:
• Go to the menu and login with the number “2”
• Return to the menu list, scroll down and select the final item, “Exit Program.”
• Select “Yes” to confirm. This will bring up the Windows CE interface.
• Double-tap the time on the toolbar at the bottom of the screen.
• Be sure that your time zone is set correctly, then adjust the date and time as needed.
• Tap “Apply” to set the time, then tap “OK” to close the Date and Time window.
• Tap the Start button at lower left.
• Select “Programs” then “Advantech.”
• Scroll down and select “Registry Saver.” Tap “OK” when you see the “Success” message.
• To restart the SDS, reboot by double-tapping the computer icon next to the date/time on the toolbar.
• Click “Yes” to confirm.
NOTE: This solution involves removing the electronics from the case. Do so in a safe environment.
• Make sure the unit is turned off.
• Remove the four screws from the underside of the case. Place them in a secure location.
• Pull the electronics package from the case and set at an angle so it does not fall back in.
• Look on the back side of the screen (closest to the lid of the case) and find the grey lid cover.
• Inside the cover is the SD card with the SDS program. Carefully pull the card out and reinsert it into the screen.
• Close the grey lid.
• Turn the unit back on. If the program starts, place the electronics package back into the case and replace the four screws.
• If the program still does not start, contact SSi for additional help.
NOTE: This solution assumes you know your IP address. If you do not, check with your IT professional, or contact SSi for assistance.
For 8020 and 8040 units:
• Go to screen 26 and enter the passcode “2”
• Highlight a number, then key in the new number and press Enter.
• Once all numbers have been changed, highlight “Set” in the bottom right hand corner.
• Then key ‘1’ and press Enter.
For 8120 and 8140 units:
• Go to the menu and login with the number “2”
• Return to the menu list, scroll down and select the final item, “Exit Program.”
• Select “Yes” to confirm. This will bring up the Windows CE interface.
• Tap the Start button at lower left. From there, select “Settings” and then “Network and Dial-up Connections.”
• Double-tap the icon for “Emac1.”
• In the next window, select “Specify an IP Address”
• When you are ready to enter the desired address, tap on the keyboard icon at bottom right, then select “Keyboard” and use the keyboard to enter the correct numbers.
• When you have entered the IP address, click “OK”
• Tap the Start button at lower left.
• Select “Programs” then “Advantech.”
• Scroll down and select “Registry Saver.” Tap “OK” when you see the “Success” message.
• To restart the SDS, reboot by double-tapping the computer icon next to the date/time on the toolbar.
• Click “Yes” to confirm.
You will need to replace the SDSSurveyinfo file as follows:
• Place the new SDSSurveyinfo file on a USB drive and insert it into the SDS unit’s USB port.
• Go to the menu and login with the number “2”
• Return to the menu list, scroll down and select the final item, “Exit Program.”
• Select “Yes” to confirm. This will bring up the Windows CE interface.
• Double-tap the “My Device” icon.
• Double-tap “USB Hard Disk” on the list.
• Highlight the SDSSurveyinfo file.
• Tap “Edit” on the menu bar, then double-tap “Copy” from the dropdown menu.
• Go to the tool bar across the top and tap the Up icon (folder with green arrow). This brings you back to the original “My Device” view.
• Double-tap “Storage Card” then “AUTORUN” and finally “SDS.”
• Tap “Edit” on the menu bar, then double-tap “Paste” from the dropdown menu. This will paste the new SDSSurveyinfo file into the correct folder.
• Tap “Yes” to overwrite the old file.
• To restart the program, double-tap the icon to the left of the time at the bottom of the screen. Double-tap “OK” to reboot the screen.
• You should now be able to upload templates, run surveys, and download surveys from your SDS.